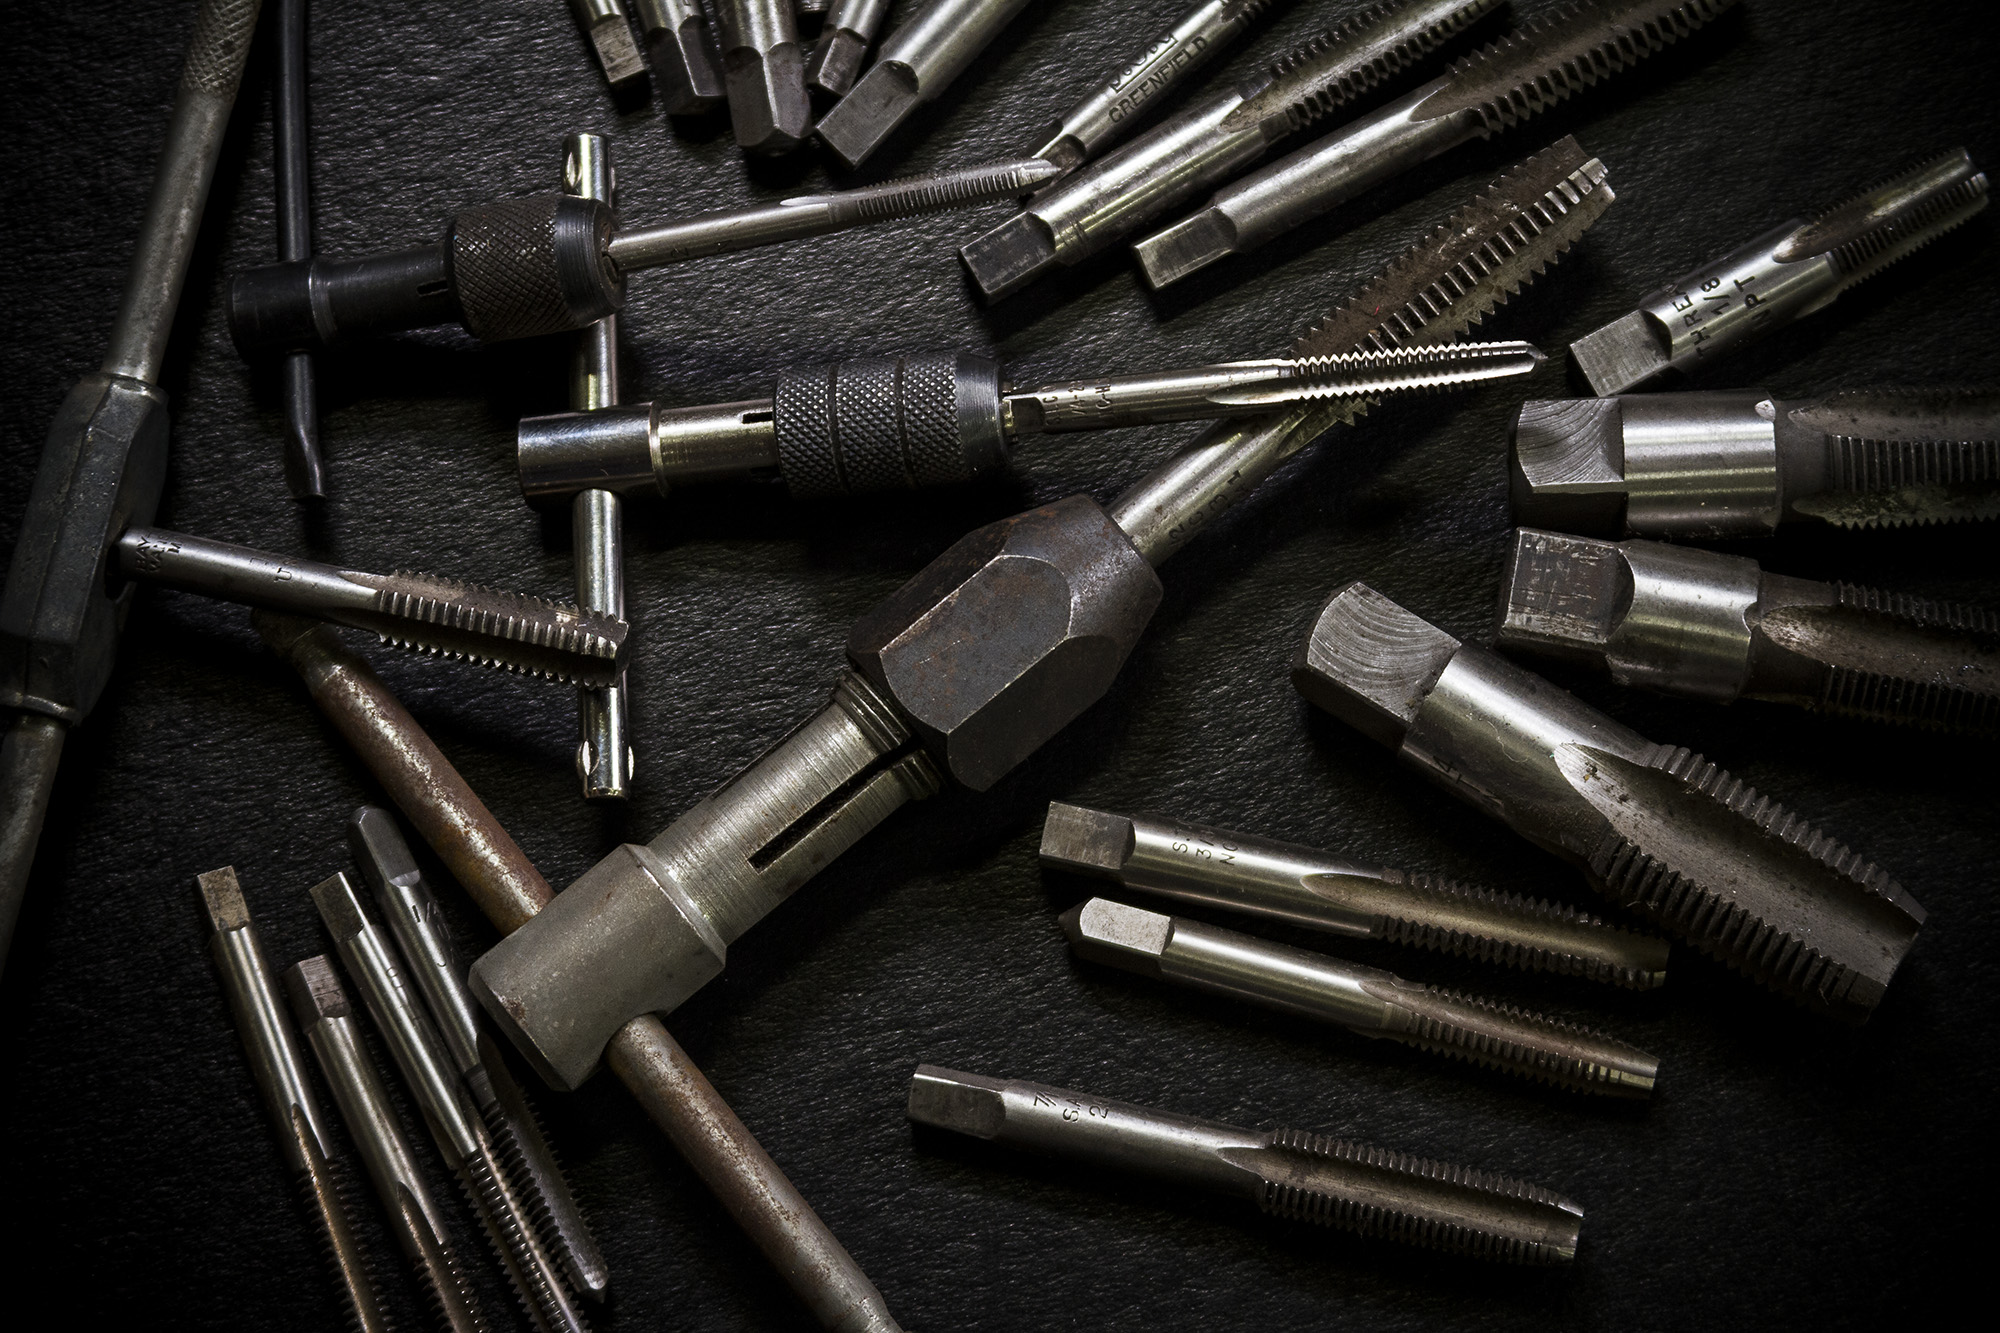
 Recently while beneath a friend’s car, I noticed an abundance of zip ties used to secure everything from battery cables to taillight wires to brake lines, and everything was hanging off the fuel line. After a little arm-twisting, I convinced him we should drill and tap some holes to attach line clamps to the frame and take the stress off of his fuel line. His hesitation at first in doing so revolved around a few bad experiences with breaking taps off and holes and bolts that wouldn’t tighten up. I assured him we could get the job done without any pitfalls if we followed a few simple steps.
Threading a drilled hole may seem like an easy task, but plenty can go wrong if you don’t take the proper precautions when using hand taps. Knowing how to use a tap properly will reduce the risk of tap breakage and make the process more enjoyable.
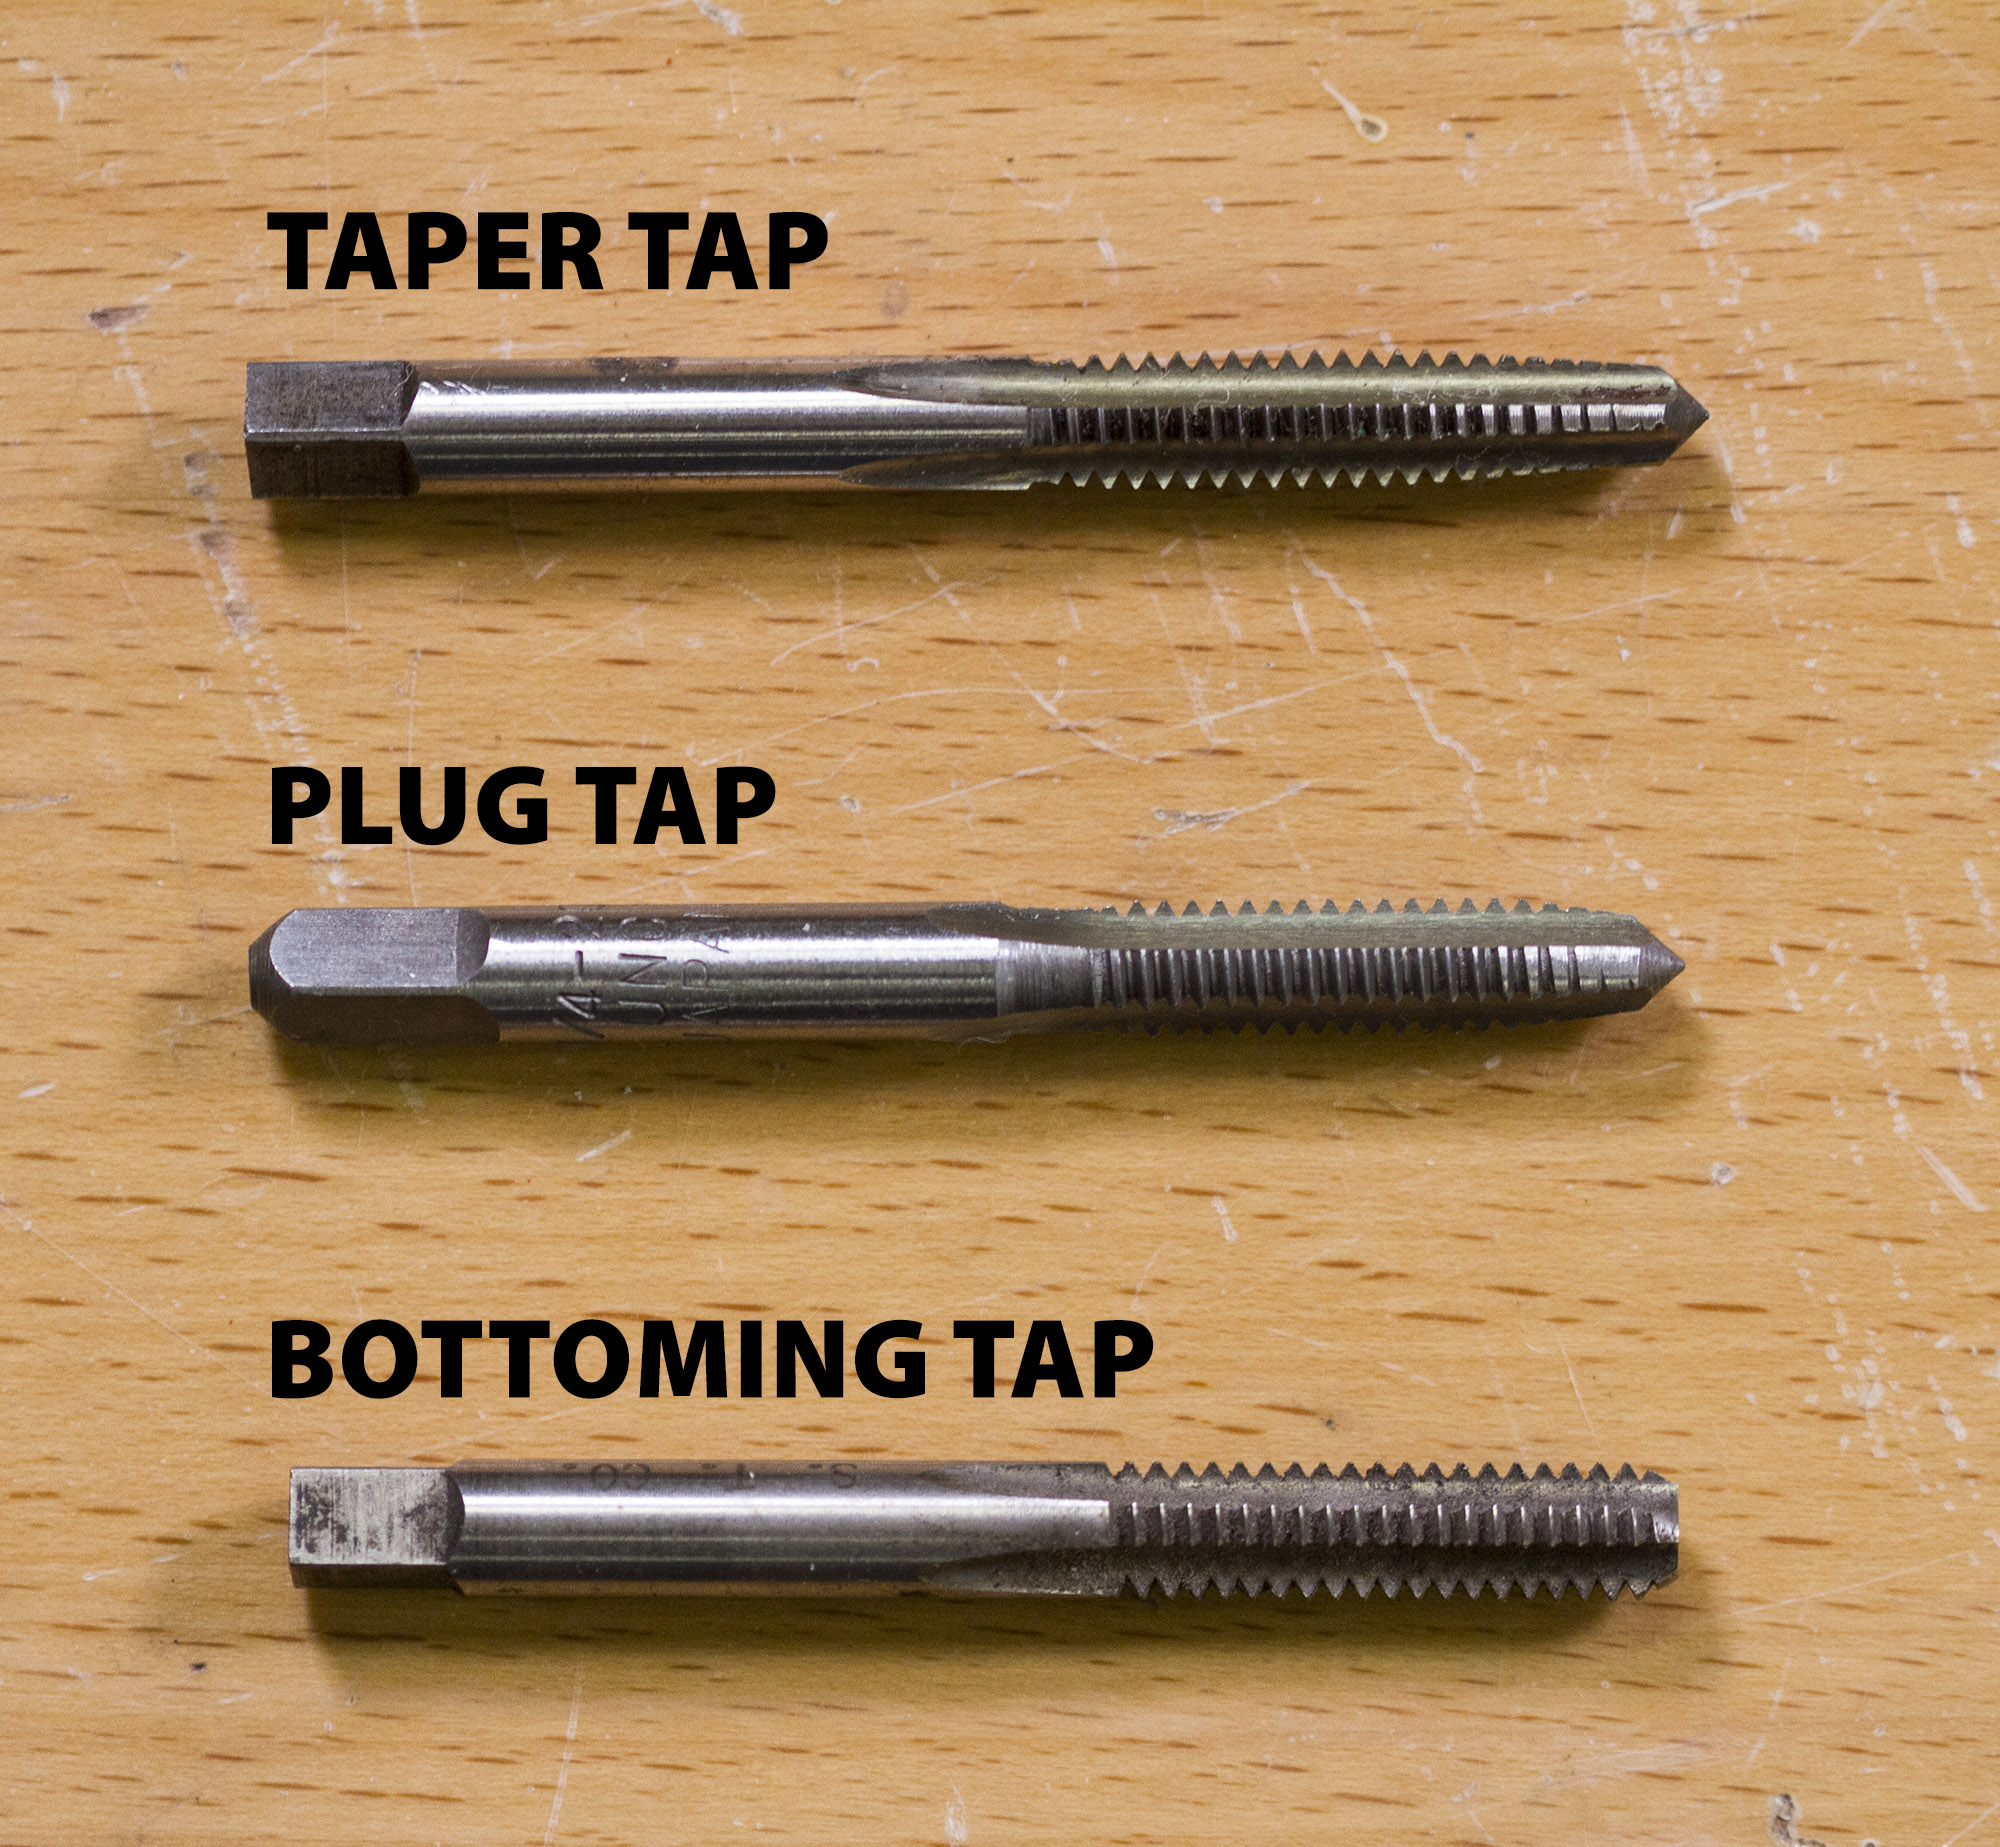 Types of Taps
There are 3-common types of hand-taps, and they are: Taper, Plug and Bottoming. The difference between them refers to the number if chamfered threads on the tap before a full-width thread on the tap. Taper taps have from 8-10 chamfered threads, whereas Plug taps have 3-5 threads and Bottoming taps have only 1-2 threads.
Taper and Plug taps are most commonly used for tapping holes that go completely through the metal, and Bottoming Taps are used to tap “Blind” holes that do not go all the way through. Plug taps are the most commonly found taps at local hardware stores and building supply centers.
What to Buy
Taps are expensive, and one place you should NEVER try to save a buck. Almost every car enthusiast is guilty of finding that great deal on a set of import taps, then dreading them every time a tap breaks. Here’s a few quick tips: Carbon steel taps are slightly harder than HSS although they are also more brittle and dull faster, Buy high-quality U.S.A. made taps, Most car enthusiasts should choose HSS (high speed steel) or better. Depending on your budget, most classic car enthusiasts don’t need a full set of taps but rather 1/4” -9/16” in coarse and fine thread are the most common for automotive. When your taps become dull throw them away; No good has ever come from a dull tap. I prefer taper taps over plug taps as I can get more of the tap started in the hole and it’s easier to see that I am tapping straight into the hole.
Drilling a Hole
To create proper threads in metal, you need to first drill the correct size hole in the metal. To determine the correct size hole to drill into the metal, you can reference the drill and tap chart at the bottom of this web page. Another method to determine the approximate size of the drill bit is to use this calculation: Subtract 1/Pitch (threads per inch) from the major diameter. That’s the tap drill size. For example: 1/4-20: 1/4″ = 0.250. 1/20= 0.050. 0.250-0.050=0.200. You need a drill bit that is about .200″ diameter. (In this case, either a #7 or a 13/64”, which is 0.203”, will work.) An additional example is: 3/8-16: 3/8-1/16= 5/16.
Often times when drilling and tapping holes on classic cars, we’re doing it in less than ideal circumstances, like on a car frame for example. But it is important to make every effort to drill the hole as squarely as possible. Often if we’ve drilled the hole crooked we try to square it up with the tap, which results in holes that are bigger than the fastener and reduced potential clamping load. If you’re drilling and tapping smaller objects on the bench ALWAYS secure the to the bench or use a vice.
Drill the hole into or through the metal, or part, while liberally applying cutting fluid to the “drill bit”, this will lubricate and cool the drill bit. Remember that slower RPM rates are better than faster ones. Too fast and you will damage the “drill bit” or maybe even your part. Next chamfer the hole opening with a countersink. This reduces the stress on the tap and helps keep your tap starting straight. Nothing is worse for a tapped hole than starting the tap crooked. And often as not, you wobble around for a few turns. If the hole is started crooked, the hole itself will eventually try to straighten the threads. This causes more friction and increases the likelihood that the tap will break. When drilling the hole using a hand drill, always sight the drill bit from a couple different sides to get it as close to going in straight as possible.
Tapping a Hole
Select the tap that matches the size of the fastener you will be installing into the metal and secure the tap in the tee-handle tap wrench. Lubricate the tap with cutting/tapping fluid. Then place a bit of fluid on and in the hole to be tapped. Align the tap with the drilled hole and view from a couple different angles to ensure the tap is going in straight. Start threading the hole in the metal by turning the tee-handle tap wrench clockwise for a right-hand threads. Continue checking the tap to ensure it is straight with the hole. Reverse course regularly to break the swarf into manageable pieces and keep the hole clear of chips. As soon as you begin to feel resistance, back the tap out. Clearing the chips is especially important in thick material. Steel and brass form chips easily, so deep in these materials may require the tap to be backed completely out a time or two. Softer materials such as aluminum, on the other hand, can create longer swarf that must be sheared off the work piece, and may require as much as half a “back turn” for every forward turn of the tap in order to cut the pieces off short enough to be evacuated out of the hole through the flutes. During the backward action, it is often possible to hear or feel the cut piece breaking off the work piece. The smaller the tap, the more frequent reversals will be required. Ignoring this step can clog the flutes and bind the tap. Continuing forward often will break the tap.
While the slow action of hand tapping does not produce enough heat to be concerned about, lubrication is still important. Depending on the materials, using commercial tapping oil, machine oil, ATF, even water, makes a huge difference in reducing friction and stress on the taps. Sulpherized cutting oil offered at many hardware stores for pipe threading works well for tapping fluid too. For aluminum, WD40, kerosene or fuel oil works well for threading. Added slickness will prevent binding as the tap goes in and assist evacuation of chips along the flutes.
IMPORTANT: Make sure to keep any and all pressure on the tap to a minimum. You only want to press down when starting the tap. From that point forward, you want to make sure you are only turning the tap and not leaning it from side to side or pressing down. Some taps are hard and brittle to cut difficult metals. This means that they will snap very easily – especially smaller diameter taps.
Bolt it Up
If the threaded fastener will not thread into the hole, look for debris or metal shavings in the hole and clean them out. It is almost never necessary to re-cut the threads unless your tap is the wrong size or extremely damaged.
Tapping mounting holes is a great way to secure lines, brackets and accessories on your classic car and it speaks to the quality of the build. Whether they’re in the engine compartment or along the frame rail or even under the dash, a properly drilled and tapped hole is one of those details others will respect, especially when compared to the assortments of zip ties, safety wire and even tape I’ve seen used on some cars. Take the time to do it right and you’ll never have to do it twice.
Download Your Drill and Tap Chart Guide Here:
The post Cutting Threads: An introduction to using a tap to thread bolt holes appeared first on Classic Car Restoration Club.